

Become a Better Photographer with a Handheld Light Meter
/
The venerable Gossen Lunasix. This is a Model 3. Thousands of photographers in photo schools around the world started with a Gossen handheld meter.
We all want to improve as photographers. And, the cameras that we have available to us today, provide services unimaginable twenty years ago to help us do so. But as with all things, there are multiple perspectives to a view, and I've learned through experience, that with advanced automation has come a loss in understanding of how to meter shots effectively.
That statement could be seen as "uh oh, he's off on some Luddite rant", but that's not so. Your in-camera meter does an incredible job and you could go your entire life without ever using a handheld light meter and never miss it. However, if you really want to get your head inside the process of metering and exposing with intent, a handheld light meter is an important tool to learn, use and own.
When I use the term light meter, I want to be clear, that what I am referring to is a modern device that can meter not only ambient light, but the output from a flash as well. You get both functions in most meters today, and you will benefit from both so no need to cheat yourself by only getting one type.
Your Camera Meter is Not Enough
Your camera light meter is a pretty amazing piece of kit. It has lots of computational power, can meter different parts of the scene selectively and will give you some choice in reflective light metering from a pattern and coverage perspective. What it won’t do, is help you with flash, won’t help you mix flash and ambient light, won’t really teach you how the elements of exposure work together and will never teach you why you still get bad exposures even when the camera says things are perfect. Your camera meter will not teach the magic of using Exposure Values (EV) and won't help you as easily if you want to learn the Zone System. If Black and White work is important to you, a handheld light meter becomes a real asset.
Reflected Light Metering
All in-camera meters measure the light reflected from the subject into the body through the lens. This is where we get the term TTL or through the lens metering Whether you select matrix, evaluative, area, centre-weighted or spot metering, the meter is ONLY ever reading reflected light and producing exposure guidelines to achieve an overall exposure that averages to middle grey. It’s measuring reflected light, so colour, reflectance, tonality, angle and textures will all be impacting what the meter reading shows you, without you knowing if the reading is representatively accurate or not. By this I mean, that the math will be accurate, but the material doing the reflecting may be skewing what the meter sees and acts upon.
As I write this, there are several inches of that white stuff in my yard. If I go outside, turn my camera on, in any mode at all, take a meter reading and either let the camera do the settings for me or set it myself in manual mode if I want to take more time, no matter what mode I use, when I shoot with the meter reading, the snow is going to be middle grey. Reflected light meters do their job superbly well, but the only way you will always get a "correct" reflected light meter reading is to only ever meter off (only) a grey card. Guess how often that never happens. I put "correct" in quotes because what is an accurate meter reading, may be different from your artistic intent. Intent typically needs correct as a place to start though.
Incident Light Metering
Handheld meters default to what we know as incident light metering. Instead of measuring the light reflected from a subject, they measure the light falling on a subject. Some folks when first starting out figure that the meter is broken, because the reading often does not match the in-camera meter reading. They are not broken at all. They are correct. It’s the in-camera meter that’s wrong. Due to enhanced dynamic range in newer sensors, we can often recover in post processing what is lost, but if you are really serious about knowing your craft, why not get things right in camera?
Flash Metering
I love how people who swear that their in-camera meters are perfect are often the same people who poo-poo TTL flash metering. All reflected light metering in today’s cameras is TTL whether ambient or flash. Maybe they’ve watched the wrong YouTube video, or whatever, but reflected is reflected. Period. In order to get the most accurate (and consistent) flash exposure, you need to measure the flash falling on the subject, meaning the flash is in manual mode (like the sun is – where are the dimmer controls on the sun anyway?) and you meter the incident flash. It used to be that a flash meter was a special very expensive box, separate from an ambient incident light meter. Not any longer. Every product I will talk about does both.
Spot Metering
Some handheld meters also do spot metering. This is reflected light to be sure, but unlike the spot meter in your camera, the handheld spot meter will allow you to take several readings at different points in the scene, and show you a graph of where the exposures fall. If you want to learn the Zone System with any kind of real aptitude, this is a requirement. These kinds of spot meters are still so valuable that the old handheld spot only meters, like the Pentax Spotmeter and the Minolta Spotmeter F still sell used for what they sold for new forty years ago and sometimes more.
Picking a Handheld Light Meter
This is actually pretty easy, because the industry has not been kind to meter makers. You really only need to look to a single line and that is Sekonic. Sekonic has done meters for decades and they are really good at them. Let’s have a look from an excellent low-cost meter, up to the pricey pro version. I will list the model, approximate cost and key features. Some of these meters come with radio transmitters built in to use with select flash systems. I advocate carrying your flash trigger in your hand, rather than having to pay a lot of money for a basic radio trigger in the meter than only works with a small number of flashes.
Sekonic L-308S Flashmate – about $290 CAD
- Ambient incident
- Flash incident
- Mixed flash and incident
- Specifications : https://www.sekonic.com/canada/products/l-308s/specifications.aspx
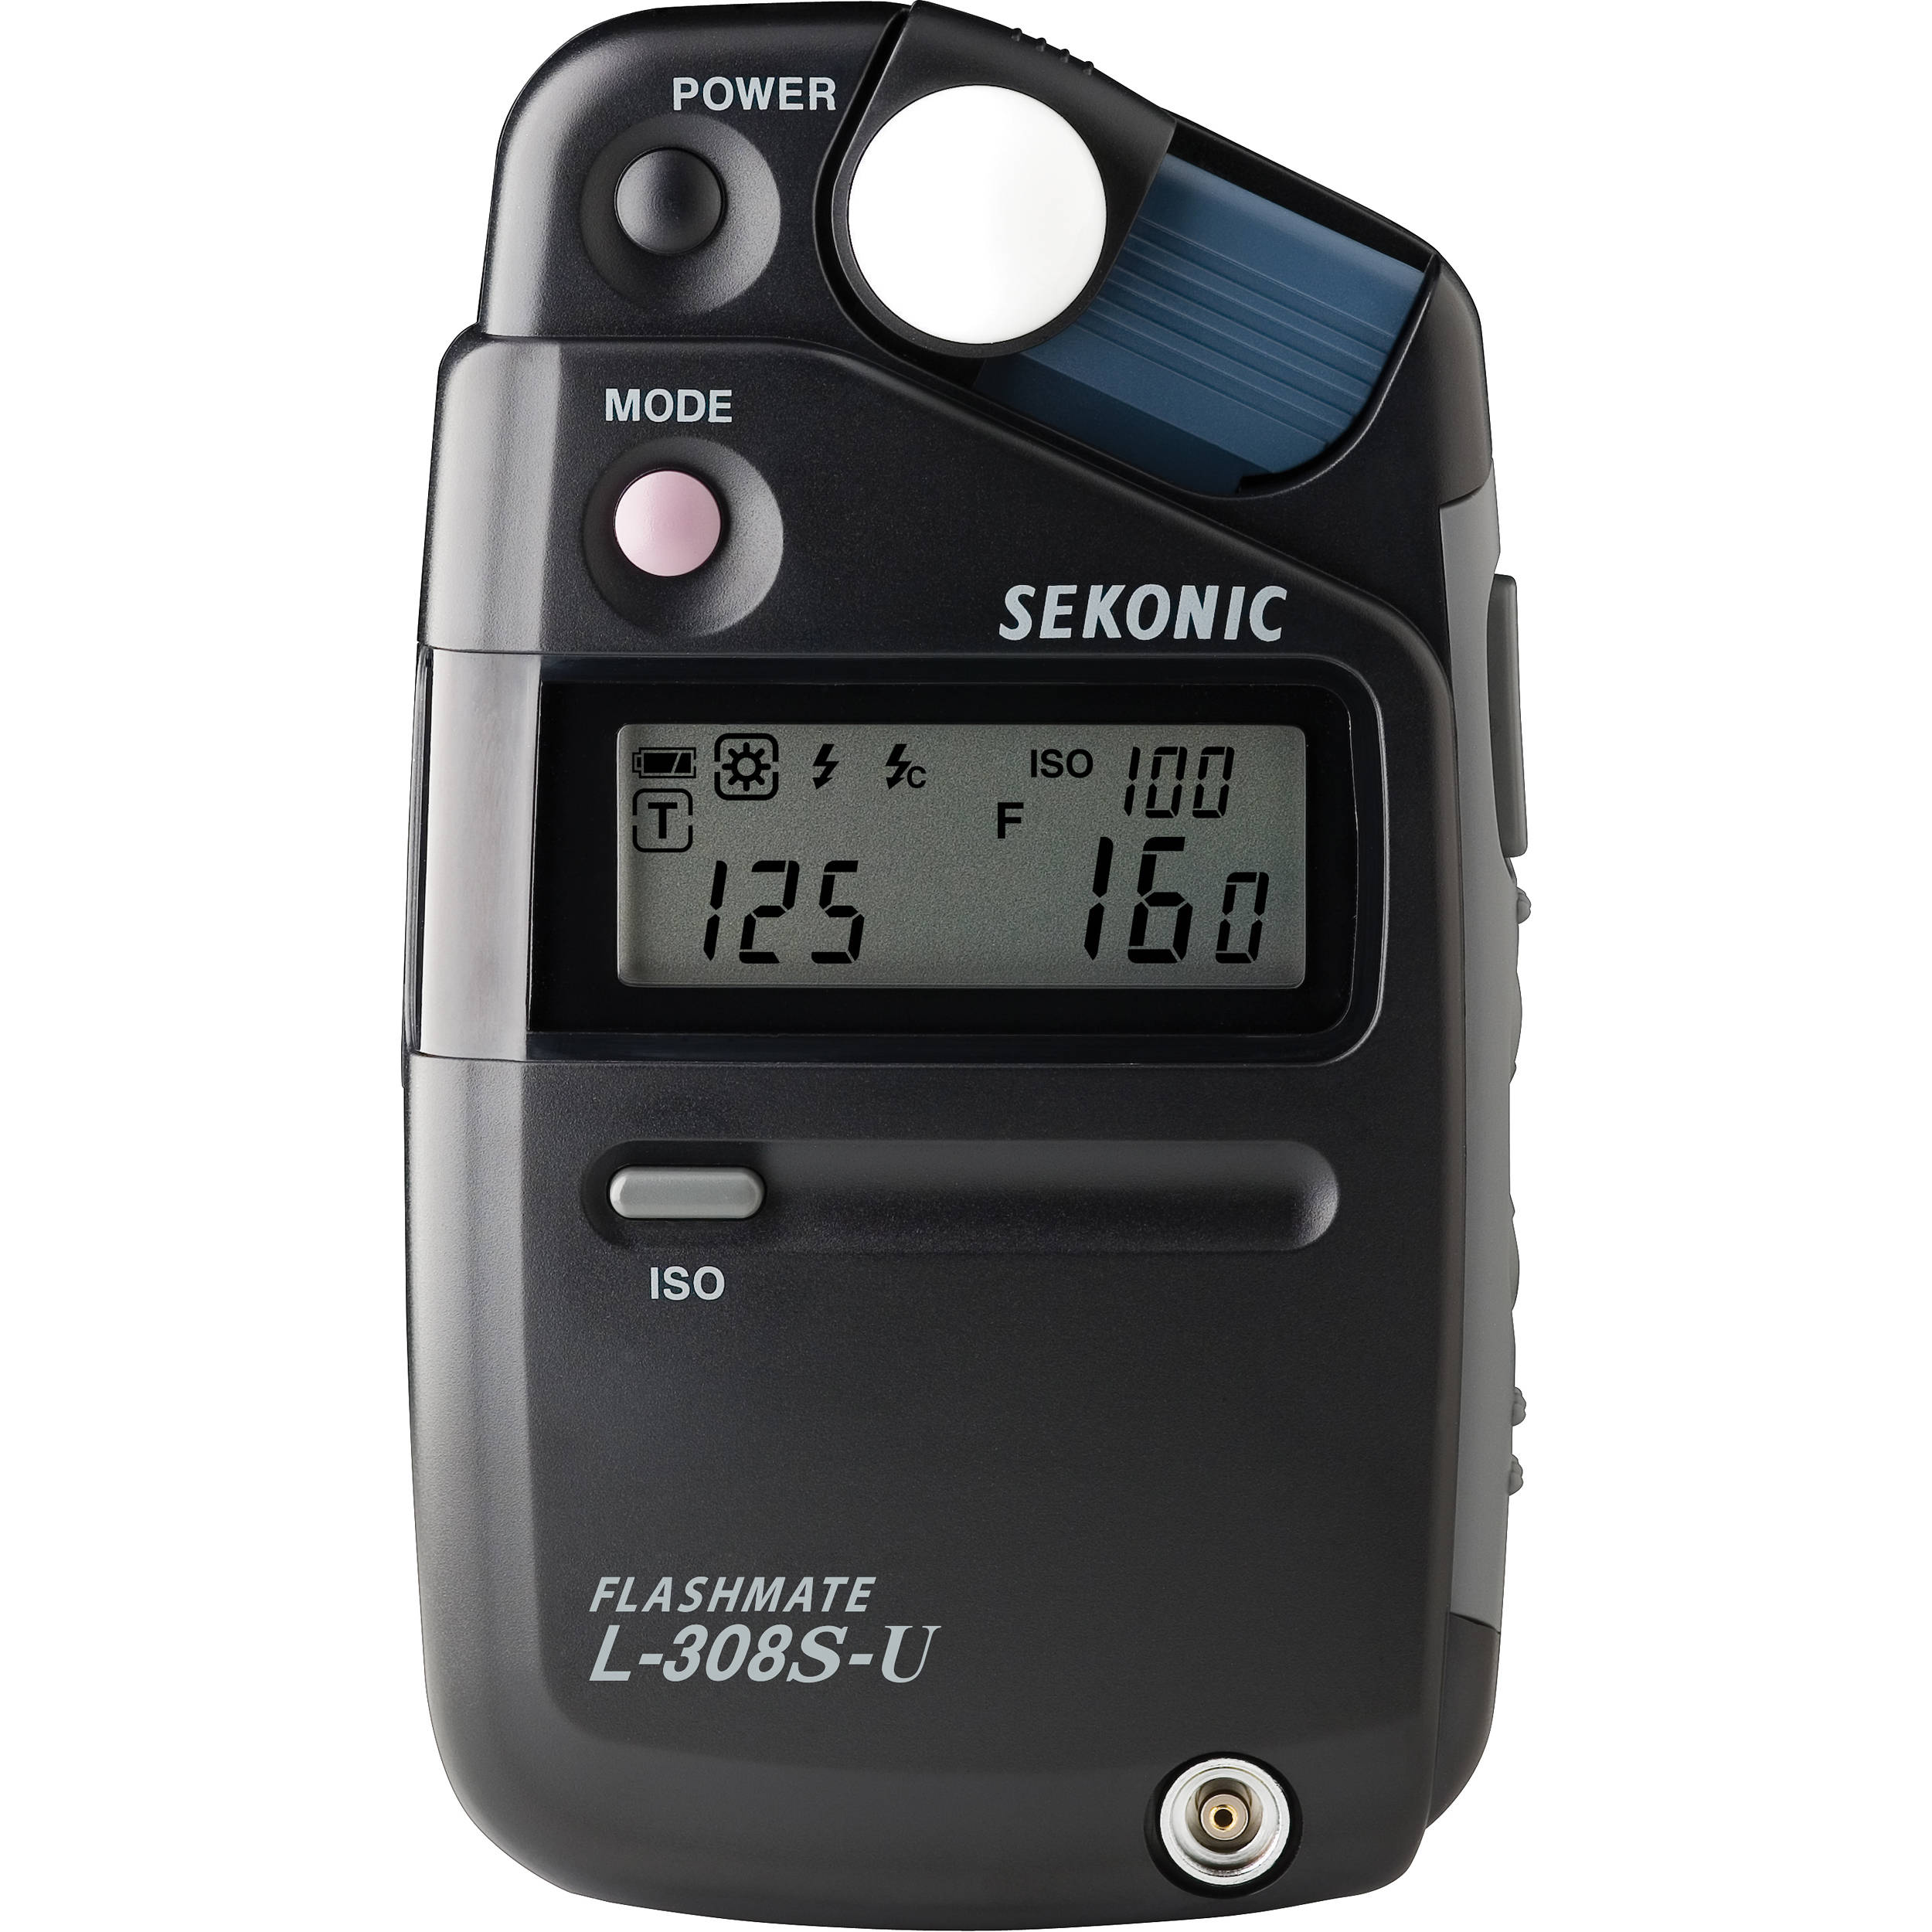
Sekonic Flashmate L-308S A great little meter that does both ambient and flash
Sekonic L-478D Litemaster Pro – about $450 CAD
- Touchscreen
- Rotating Meter Sensor
- Ambient Incident
- Flash Incident
- Mixed Flash and Incident
- Cinema capable
- Specifications : https://www.sekonic.com/canada/products/l-478d/specifications.aspx

Sekonic L-478D ambient and flash meter. This is the DR model which includes a radio trigger to trip Elinchrom strobes. You don't need the R, easy to carry the transmitter in the other hand or if you do not have Elinchrom lights. This unit has a touchscreen as well as a retractable incident dome.
Sekonic Speedmaster L-858D – about $900 CAD
- Touch Screen
- Ambient Incident
- Ambient Reflected (with adapter)
- Flash Incident
- Mixed Ambient and Flash
- Spot Metering
- Cinematography Metering
- Specifications : https://www.sekonic.com/canada/products/l-858d/specifications.aspx

The Sekonic L-858D replaces the respected L-758D and adds a touchscreen. This does ambient, flash and spot metering in a single unit. The incident sensor can rotate and also retract into the body. I've had my 758 for years and it has stood up to harsh use very well. This is definitely pro grade kit
The How-To Of A Handheld Light Meter - Ambient Light
We want to get the meter at our subject. An incident light meter has a dome, to allow for seeing the light coming in from all directions. While some domes can collapse, and some can be replaced with a flat diffuser, the dome is the most widely usable option. Place your meter close to your subject and with the dome at the same place as the most important part of the subject. There are different schools of thought on where to point the dome. Some say at the light source, some say at the camera. I say try them both and see if there is a difference in the reading and if there is, take a couple of shots at the different settings and see if you like one more than another.
Modern light meters will take ambient light readings in a variety of ways. You can select a shutter speed and ISO and the meter will tell you the preferred aperture. You can select an aperture and ISO and the meter will tell you the preferred shutter speed. You can set the ISO and let the meter tell you an EV level that you can then use in an EV chart to see all the shutter speed and aperture options. No one method is more right than another, but the options allow you to choose where you want to bias your exposure.
Because the meter is measuring the light falling on the subject, the subject's colour, tonality, reflectance et al do not go into calculating an exposure, and this is actually what you want to happen. The exposure will be correct, but that does not guarantee that you will like it. Chimping of your shots is recommended.
You will also have figured out that this is not a speedy process, and that it involves using your camera in manual mode, and learning to ignore the built in camera meter. The good news is that if the light falling where you are, is the same as the light falling on your subject, with the same distance between subject and source and you and source, you can take a reading at the camera and be in good stead.
The How-To of a Handheld Light Meter - Flash
You work the same way as for ambient light, but set the meter to gather the flash exposure. You can trip the flash from most meters via a sync cable, or have an assistant do a test shot while you meter, or if your flash has a radio trigger take it with you and use it to fire the flash when you have the meter in the right place. Meter position is more impactful with flash, because of the inverse square law, and the small size of the source so you may try different alignment options for the dome, either towards the flash or towards the camera if the flash is off camera (and if you are this far along, you probably have the flash off camera).
The How-To of a Handheld Light Meter - Mixed
This is just a different mode on the meter. The meter will calculate the proper ambient exposure based on your preferences but also include the flash as part of the process. Some meters will show two indicators, one for flash, one for ambient, so it is easier to pick specific lighting ratios. This mode is ideal if you are doing fill flash outdoors but don't want the shot to look "too flashy". It also works beautifully where you want the flash to be the dominant exposure, but you still want some contribution from the ambient to create a mood in the image.
The Handheld Spot Meter
This is a very different type of beast. First and foremost, it is a reflected light meter, with all the challenges contained therein. This means that whatever you drop the spot on, will produce a meter reading correct to render that which was metered to middle grey. Which is awesome if the subject is middle grey and less awesome if it is not. The idea behind the spot meter was never to meter just a tiny portion of an overall scene, but to selectively meter multiple elements within a scene, note their individual reflected light exposures, add or subtract exposure to account for the subject tonality, and then determine your best overall scene exposure to allow placement of the primary subject where you want it to fall in the tonal range and then know in advance where the other metered elements will fall. Will you lose secondary subject matter in over or under exposure? If you shift the exposure for high key or low key, what will happen? If you drop the overall exposure, what will happen to your shadows? If you raise the exposure, what will happen to the highlights? By the way, you can do all this stuff in camera if your camera has a spot meter function, but most folks don't and end up disappointed because the overall exposure is unpleasant because they only metered once, and then reframed without locking the exposure in. Spot metering takes time and practice, it's not a one shot deal so for best results, do not use it as such. I will be doing a two part tutorial on black and white photography and part one will be oriented on spot metering for capture. More information will appear there.
Conclusions
Do you need a handheld meter? Only you and your imaging goals know for sure, but if you really want to take your image making to the next level, a handheld meter is going to make life easier. You’ll understand light better, and faster.
Have you been thinking about a handheld meter and do you have more questions? Have you bought a handheld meter and find you do not use it as much as you thought that you might? Want to ensure you get the right meter for your needs? Leave a comment on the site, or send me an email directly.
Have an idea for an article or tutorial? Do you have a question regarding photo or video unrelated to this article? Send me an email directly at ross@thephotovideoguy.ca
If you shop with B&H Photo Video, please consider doing so through the link on thephotovideoguy.ca as this helps support my efforts and has no negative impact whatsoever on your shopping experience. If you find the podcast or articles of value, consider clicking the Donation tab in the sidebar of the website and buy me a coffee. Your donation goes to help me keep things going. Email your questions on any photo or video topic and I will try to respond within a day.
I'm Ross Chevalier, thanks for reading, and until next time, peace.


