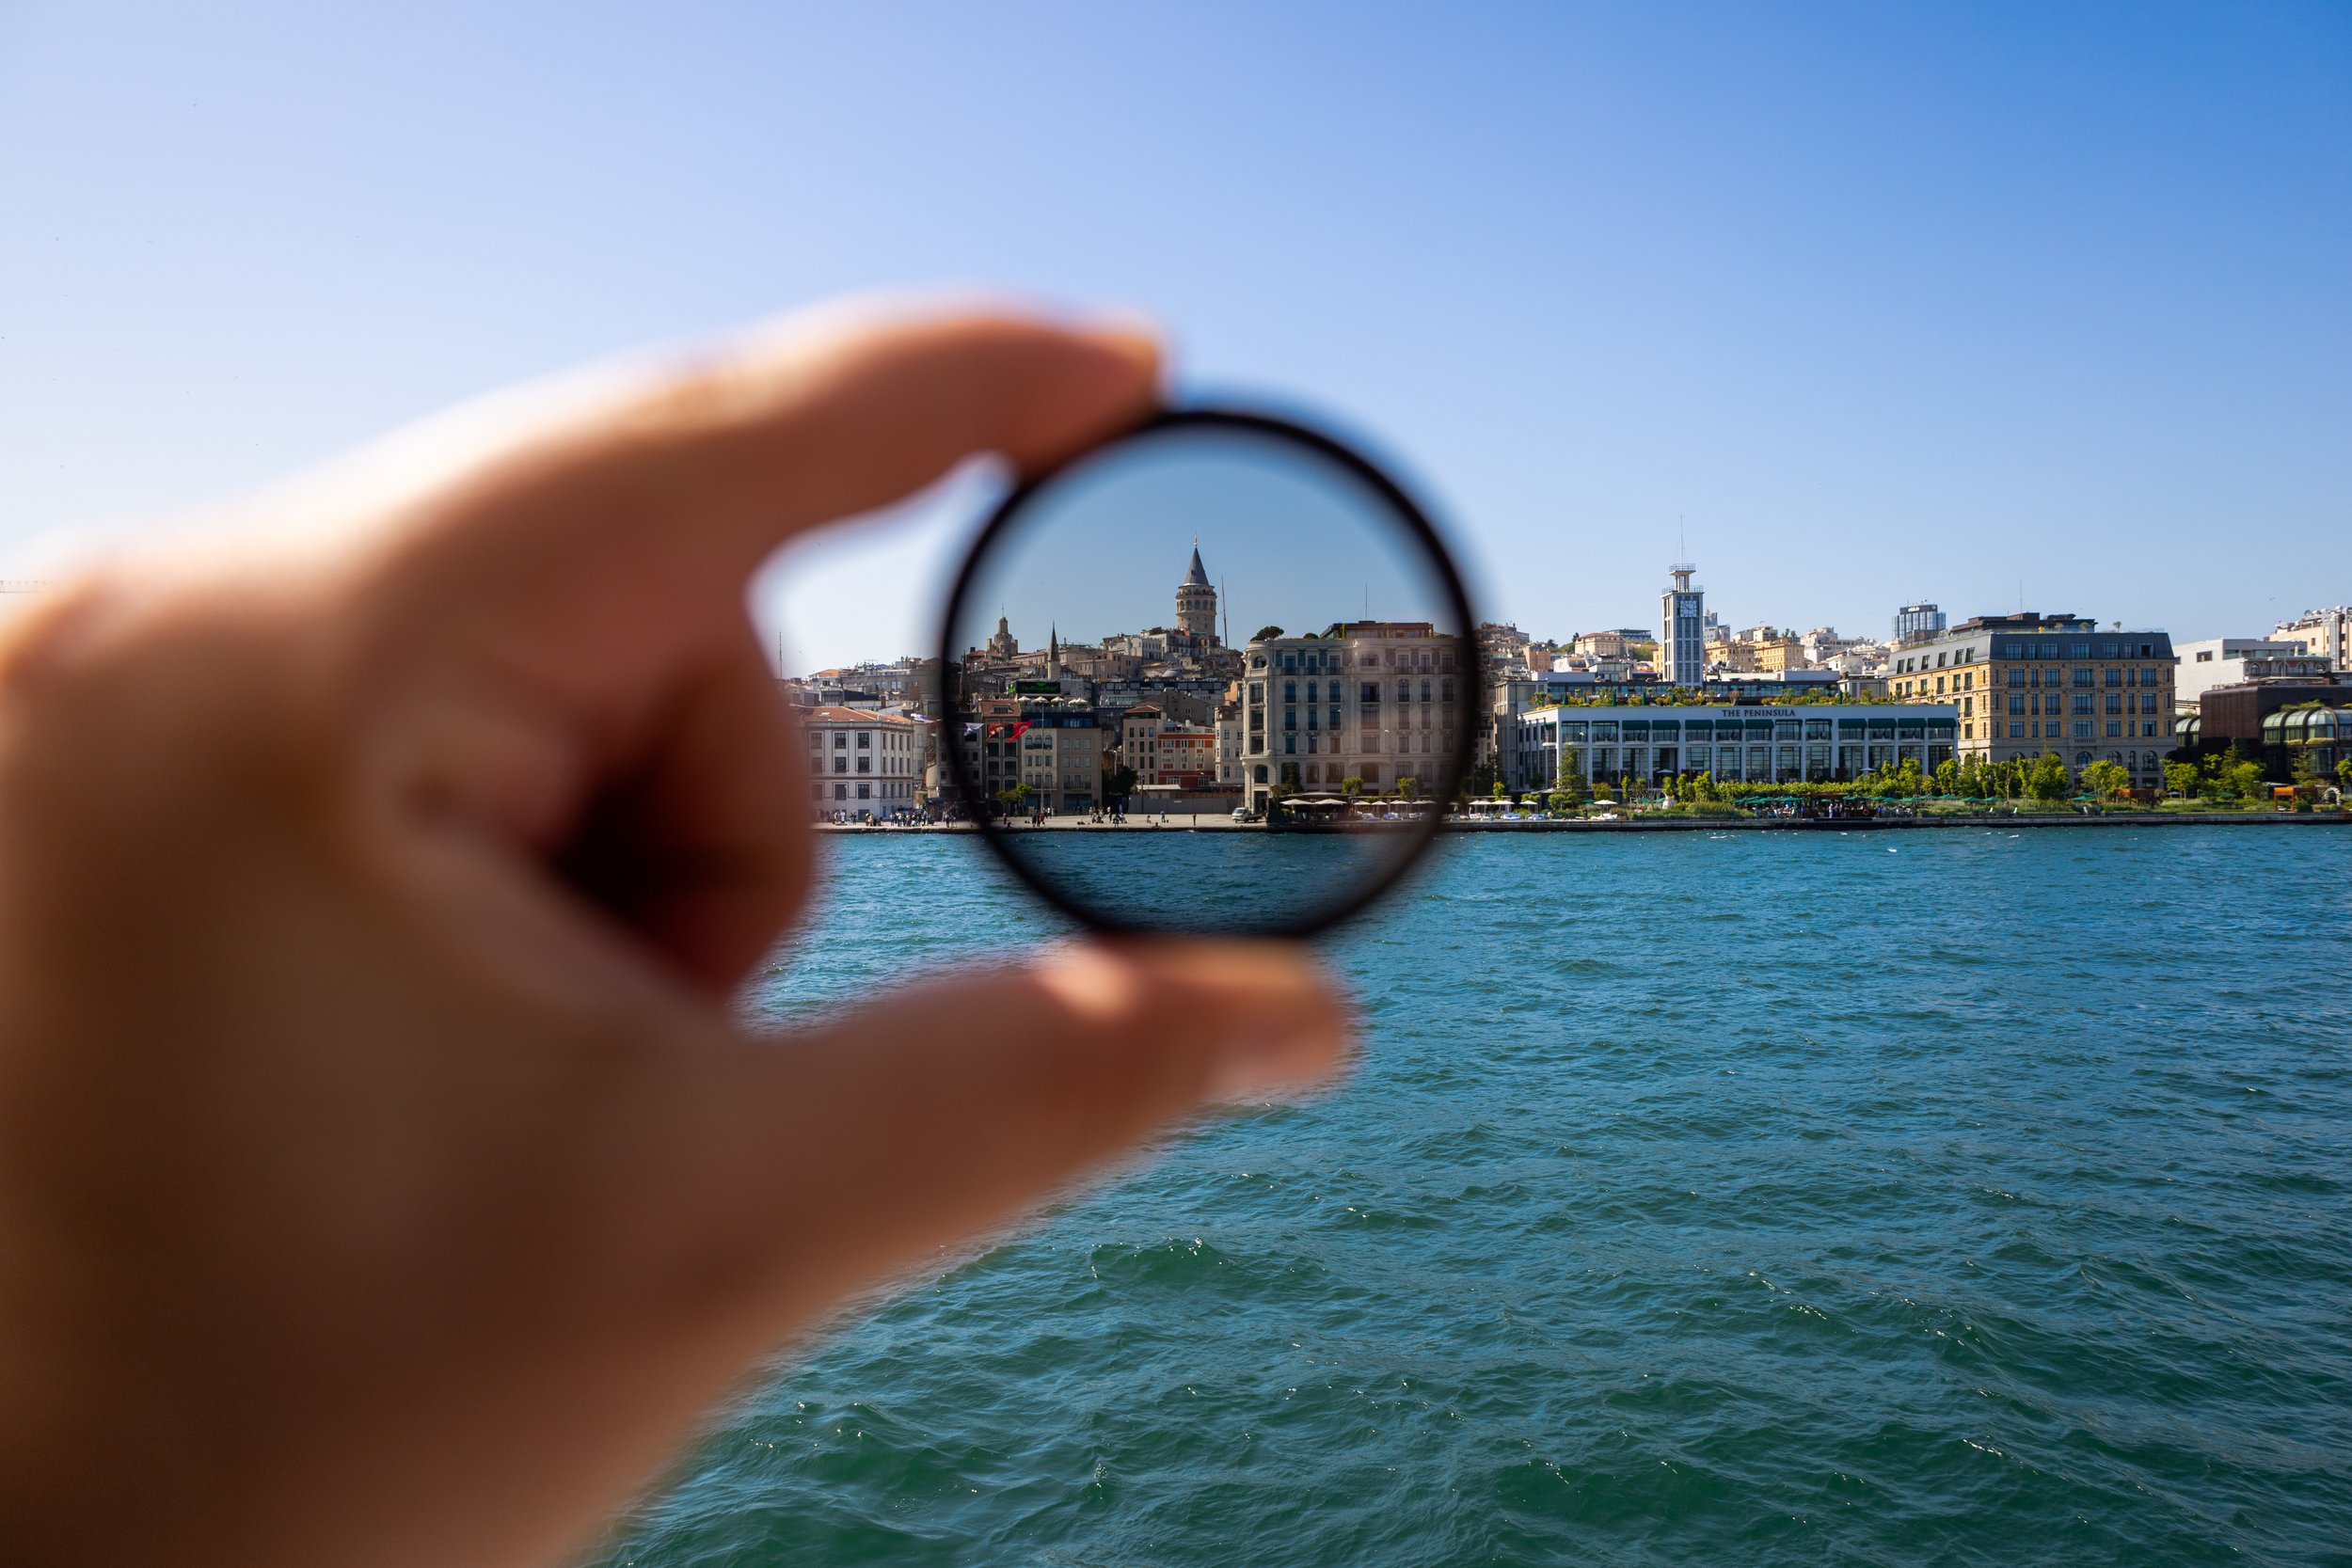
The ONE Filter Every Committed Photographer MUST Have
/Hello folks. Apologies to all the long time channel readers because I will be repeating myself this time. For the newer readers, thank you for your patience.
I started doing photography with seriousness nearly fifty years ago. That in itself is starting to make me feel old. In those days, I shot mostly in black and white and a vinyl sleeve full of coloured filters was my friend. A Y2 was on my lenses most of the time, unless the light was really low and I was shooting Tri-X or HP4 (yes that was before Ilford made HP5). The purpose of those filters changed the way the film would deal with the colour of the light inbound to the emulsion, and I, like all my peers, spent time learning which coloured filters were best for which scenario.
Now while film has made a minor resuscitation, there is an increase in interest in the art of black and white photography with digital photographers. People want to know what colour filter to use when they will be shooting for black and white.
The simple answer is NONE.
With the exception of the Leica Monochrome, and perhaps an odd one here or there, all digital sensors are colour based, with two green pixels, one red pixel and one blue pixel in each quad. If you set your camera to monochrome mode, you are not shooting in black and white. You are shooting in colour and after the fact applying a monochrome look that you have no control over whatsoever. At the risk of sounding rude, this is pretty dumb. If you are shooting in RAW, the monochrome post shot treatment will (maybe) reach your editor as a proposed look, but the RAW, since it is not a photo until conversion doesn’t know colour, or black and white. If you are shooting in Monochrome JPEG, I can only assume that you have no intention of ever doing any post processing at all, because that is the whole point of JPEG. Make the shot. Do nothing else. If you are shooting in Monochrome JPEG and then planning to edit, you are basically throwing away over 90% of the original data before you get near the image if you are shooting in JPEG Normal. Your pictures, do what you like, but doing this is pretty pointless as well.
Anyhoo, no filters at time of image recording. Using colour filters in post processing is wonderful after doing your initial monochrome conversion in your editor. In Lightroom Classic, this is found in the HSL panel and the effects that you can see while you experiment are very educating. For those who love black and white, shoot in RAW, do the most basic monochrome conversion and then use the digital colour filter controls to manage contrast and tonal mapping.
What About Colour?
In film days, different films responded differently, not completely dissimilar to how Canon sensors have their own look, that is different from Nikon’s look or Fujifilm’s look or Sony’s look. Each of these makers does preprocessing that you have no insight into or control over as part of their proprietary RAW formats. All are excellent, the differences are subtle and in the long run, so many alterations are possible to a RAW file after conversion that worrying about it is really rather pointless, unless you want to start a fight with a photographer using a different system and who actually worries about this stuff as if it were some kind of competition.
So I and my peers would use different filters for different goals. Fujifilm print stock and Fujichrome were known for rich greens, but were a bit cool on skin tones, so an 81C or 81D would warm things up. If the subject was a human with very pale skin, an 81A with any colour print film was an improvement as it was when shooting any Ektachrome type film. Kodacolor was never hurt by the 81A or the basic UV filter (presuming we are talking about optical glass filters and not the shit that was sold far and wide at the time). Kodachrome 64 was naturally warm, many thought it the perfect film if exposed at ISO 80 instead of the documented ISO 64. Kodachrome 25 was great for little children because it tended to make pinks pop more. It was also good for pastel coloured pinkish flowers. These subtle filters in the amber (81 series) and light blue (82 series) were very important. UV and Skylight 1A filters were also very popular and good ones made a difference.
So which coloured filters do I need for digital? NONE.
However there was one filter that was not optional for outdoor photographers and as you have guessed, it was the polarizing filter, which filters polarized light. Those polarizing filters were called Linear Polarizers.
The polarizing filter that we use for digital cameras is a Circular Polarizer and there is a massive difference. Circular polarizers pass more light and are designed to work with a sensor array, not a film emulsion.
The ONE
Since most digital photographers (not picture takers) shoot in colour, the polarizer is the one filter every committed photographer should have. A polarizer is an optical tool and a good polarizer will cost you some money. Many camera stores and online stores sell polarizers in the $50 - $70 dollar range. Your choice, but odds are good the glass is not optical and perfectly flat, and that the polarizing film that rests between the pieces of glass in the sandwich that is a polarizer is cheap crap.
You don’t need to spend $400 on a Kaasemann polarizer, but you should spend on a name brand. Consider Heliopan, B+W or if they still make them a Nikon polarizer. You actually do get what you pay for.
The polarizer gets a bad rep a lot because people expect it to do things that it may not be able to do. It makes skies blue. Not always. It removes reflections. Not always. It improves contrast and dynamic range. What? No it doesn’t. What a polarizing filter does is filter out polarized light. Polarized light is light that comes to the camera after being reflected off some kind of reflective surface, but not all reflective surfaces. For example, light reflected from unpainted metal is not reduced by a polarizing filter.
How To Buy a Polarizer
Get all your lenses together in front of you. Write down the front filter diameter for each lens. Odds are good that if you have more than one lens, each might use a different diameter filter. Now select the best filter that you can afford in the largest diameter that you need. Then make a list of stepping rings that you will need to be able to use your one really great polarizer on all your other lenses, presuming of course that they can accept a front mounted filter.
In my own example in full frame, the largest filter diameter I need is 82mm. So that is what I bought. I also bought rings to step up from 77mm to 82mm, from 72mm to 82mm and a pair of step rings to get from 58mm to 82mm. Take into account that if your largest filter is not for the front of your widest field of view lens, that you may not be able to use a stack of step rings because they may cause vignetting. My widest lens that takes a front mount filter is my 16-35 so I bought a slim ring 82mm polarizer, that can be used with rings on every other lens that I own.
Do buy the slimmest ring that you can, and also look for a mounting ring that is brass and not aluminum. When mounting the polarizer it needs to be screwed on but not reefed on tight. You want to be able to remove the filter without needing a filter wrench because if you need one, you will not have one and because they are a serious pain in the ass. While not all lens filter mounts are quality metal, a brass filter ring is your best option. Because I have not just fallen off the turnip truck I run a stick of beeswax on the filter threads before mounting. This helps prevent binding and lockup. When you start to thread the filter, go backwards to help the filter threads drop into the mounting threads before winding it on.
Do use a lens pen to keep the front element of the lens and the filter surfaces clean. Every speck creates potential for reflections.
Using a Polarizer
A filter for polarized light does everything it can or cannot do in a sweep of ninety degrees, aka a one quarter turn. I see people turning the polarizer endlessly. That’s wrong. Just a one quarter turn will show you in the viewfinder or on the LCD everything that the polarizer can do. You may see massive changes, you may see nothing at all. It will depend entirely upon how much polarized light is getting to the lens. You can learn all about the 90 degree rule and all manner of other stuff but I would recommend looking through the viewfinder and turning the polarizer until you find a look you like best. Then shoot. If you point the camera in a different direction in any way, you will want to check your filter position again. This is a very fast process, you are unlikely to miss a critical shot while doing so.
Can I Leave the Polarizer On All the Time?
Of course you can. A circular polarizer will cut on average two stops of light coming to the sensor and the meter. If that’s ok, leave it on. When I am shooting outdoors, particularly during the summer solstice where the sun tends to be high and haze is maximized, I will put the polarizer on and leave it on until I come inside and need more light to the sensor. The worst thing that a polarizer can do is reduce the light to the sensor. The polarizer will not “hurt” your image.
Wrapping Up
Using a polarizer properly is minimal work and can make a nice difference at time of image recording. There is no post processing effect, no AI and no other foolishness that can do this work after the fact. So if you have a polarizer, use it. If you don’t have one, why not?
Please become a member on Patreon to help support this channel. A big thanks to all the existing Patreon members! Send in comments or questions, I read and respond to all. If you shop with B&H Photo Video, please use the link on the main page as it pays me a small commission and does not cost you anything to do so. Thanks again and we will see each other again soon.


