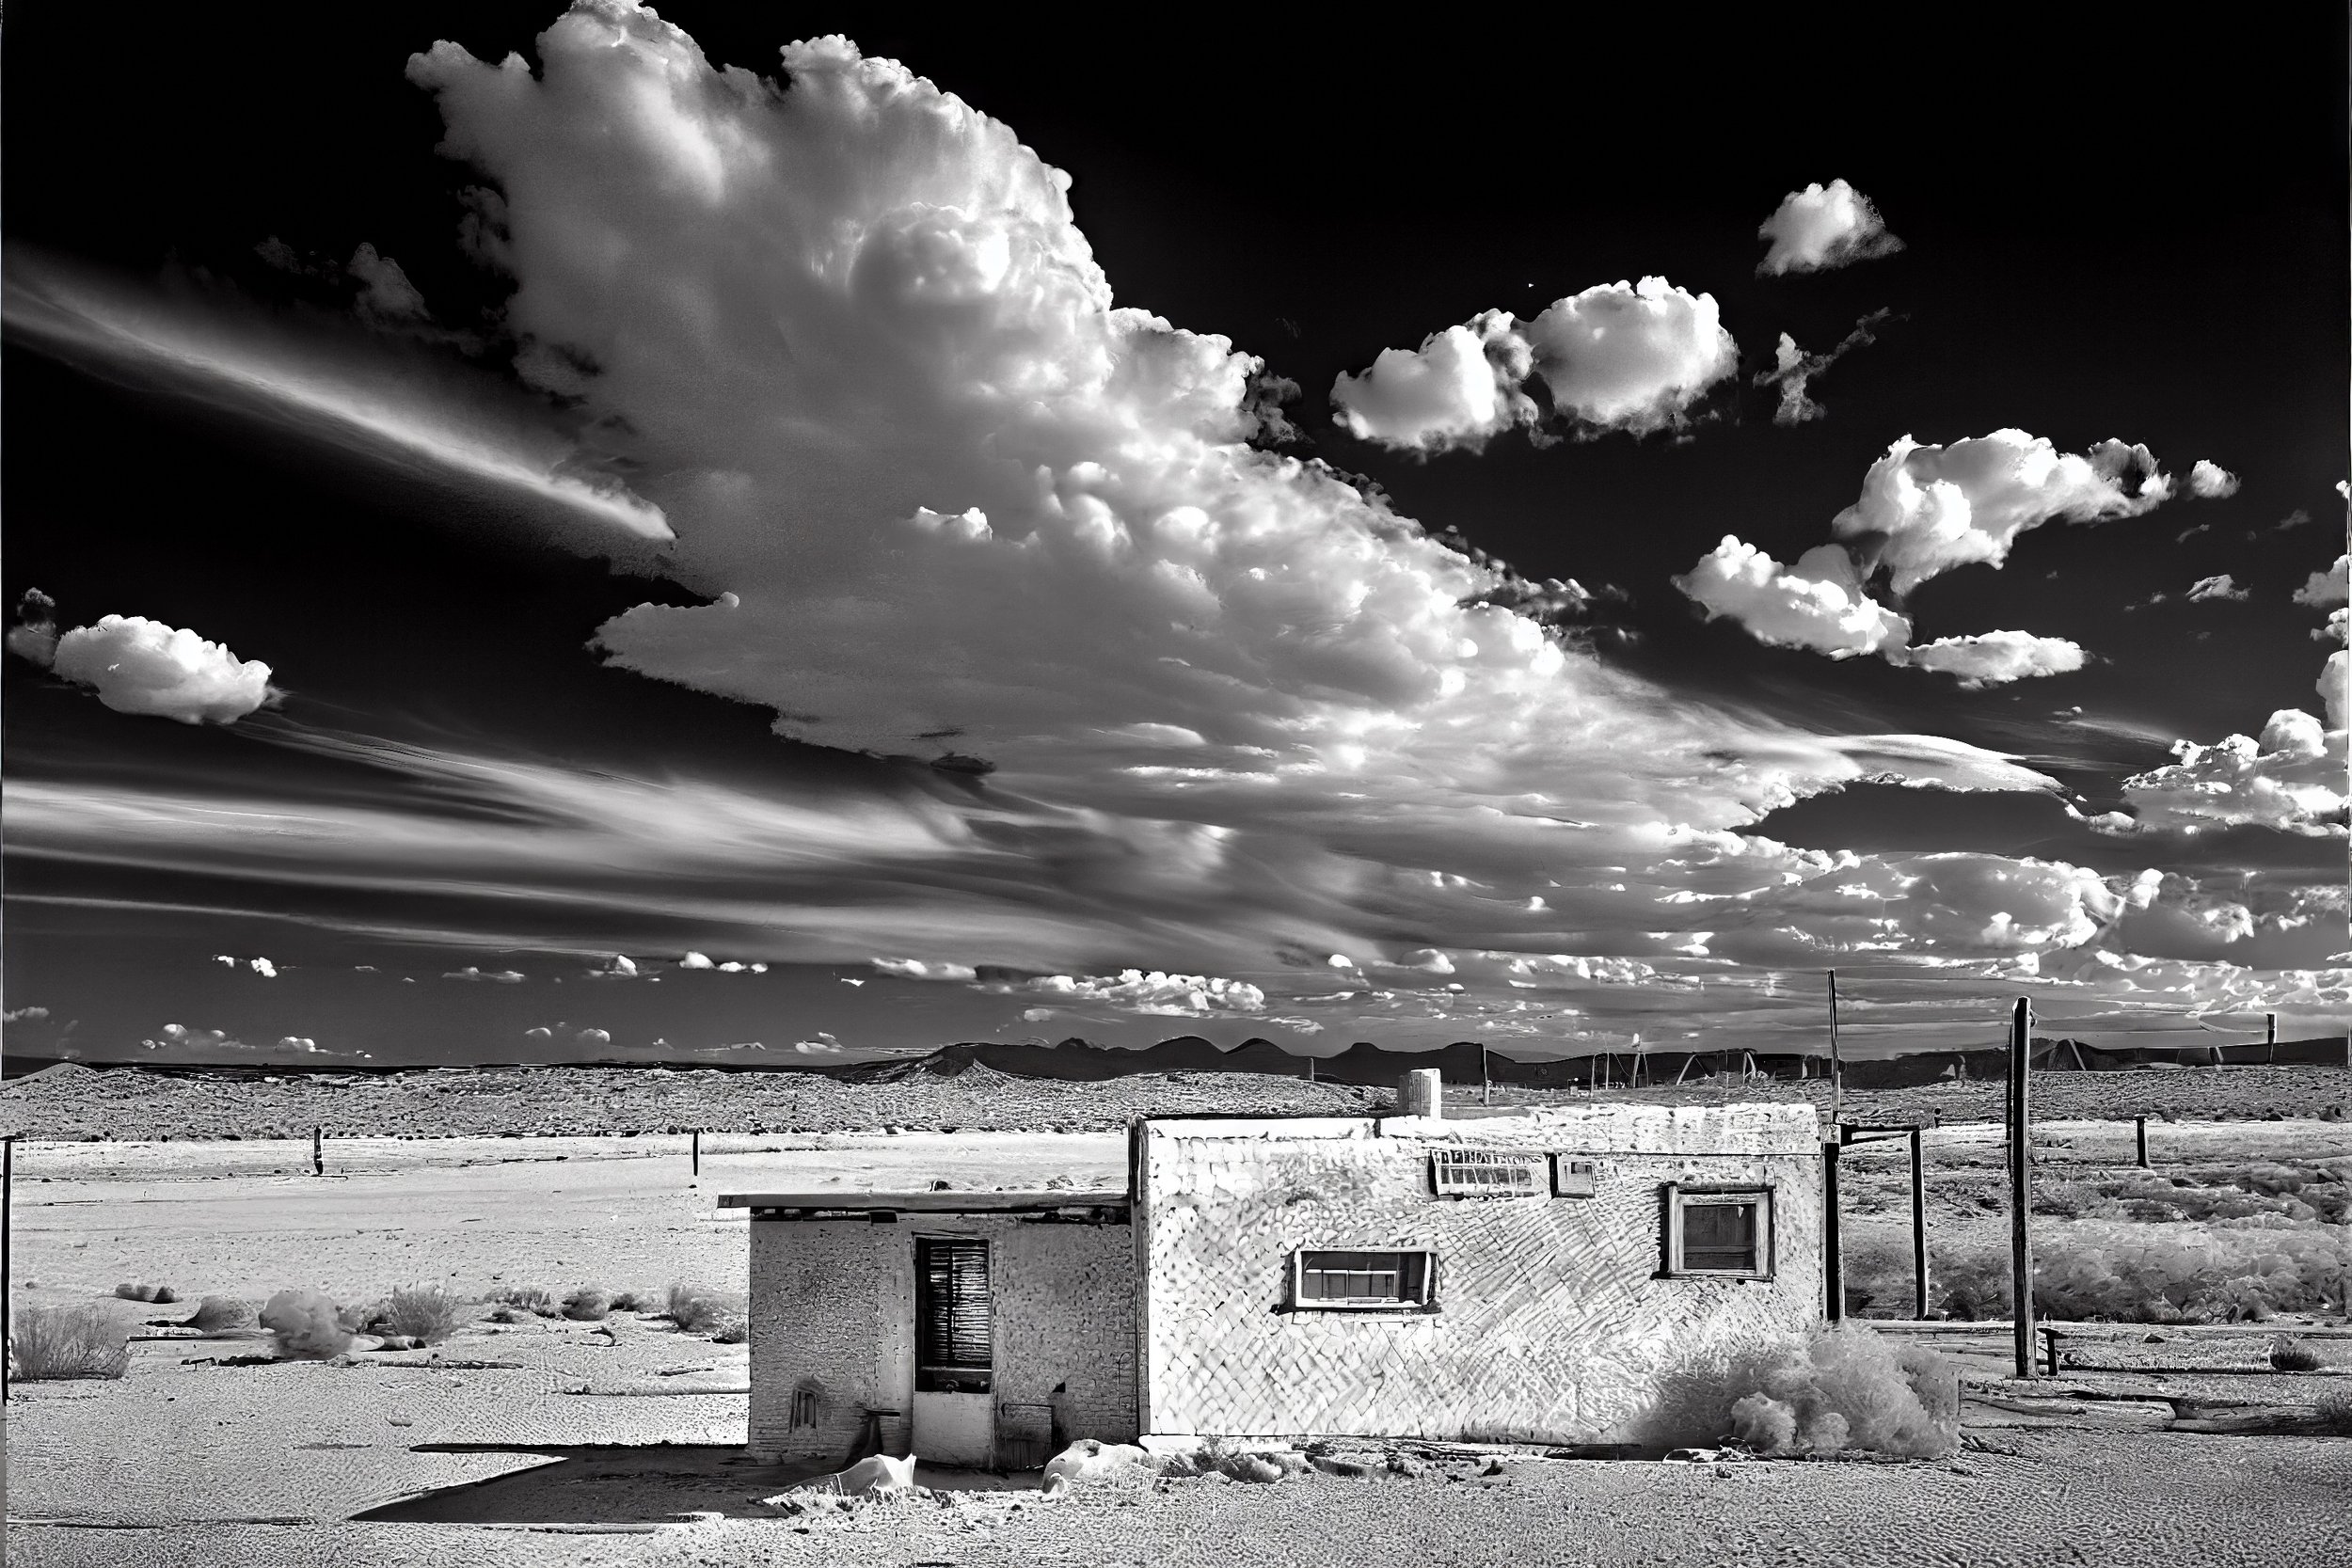
Let's Talk About Infrared Photography with Digital Cameras
/Hello folks. I was preparing a tutorial on this subject for my camera club aand as I was doing my research discovered that this topic is both fascinating and applicable to any creative photographers.
What is Infrared?
We understand that light appears both as a particle and a wave. For this conversation we will stick to the wave nature of light and place our attention there. We are comfortable I think with the idea that different colours of light have a colour temperature so it makes sense that they then have different wavelengths.
What we call visual light has a range of wavelengths. The human eye can recognize light with wavelengths from about 400 nanometers to about 700 nanometers. Since visual light is just a small portion of the electromagnetic spectrum, you can expect that there are emissions outside this range that humans cannot see. For the purpose of this activity we will consider the range between 700 nanometers and 1000 nanometers. This is the home of infrared.
When we shot film we used specific Infrared film with a filter to get images. With digital it does get simpler, but a filter is still required.
Depending on what you will be photographing, the filter you choose will vary. For example the R72 filter blocks everything under 720 nanometers, and passes up to about 860 nanometers. This is ideal for general purpose infrared and does work in colour. If you want to spend your time in the world of infrared black and white, you want to find a filter that blocks everything below 830 nanometers such as the B&W 093. This filter produces the heavier contrast favoured by black and white photographers.
Camera Conversions
There are kits that you can have installed that will permanently convert a digital camera to infrared only, but I am not covering that here.
Focus Considerations
Infrared light, being of a higher wavelength focuses at a different point than visible light. Older manual and mechanical lenses had an IR mark so you would shift focus to be more accurate. In the case of autofocus, this marking is mostly gone, so use extra depth of field to allow for this, or use manual focus, presuming that you can see.
Exposure Considerations
The filter is blocking most of the light your sensor expects. In order to avoid a lot of noise, you will want to choose a low ISO and that is going to mean longer exposure times and require the use of a tripod. Note that your meter is not calibrated for infrared so judicious bracketing is recommended, thinking +3, 0 and -3
No Flash
Your flash does not put out infrared light in a manageable way. Leave flash out of the picture.
Colour Temperature Considerations
Your usual use of Automatic White Balance is going to bite you. The best route is to point your camera (without filter) at a patch of green grass that fills the frame and set a Custom White Balance for this. Green is the opposite of Red and this is the best place to start with white balance for a digital camera. Use this Custom White Balance when doing Infrared filters.
Hot Spot Considerations
A common issue with infrared photography is what is known as hot spotting. This happens due to internal lens flare. If you have an optical viewfinder, block it off when shooting. Try to use prime lenses or lenses with a very simple internal build. The more complex the lens, the higher the likelihood of getting hot spots.
Processing
Infrared images are going to need processing. Fortunately you can do this in most any editor, For colour, the most effective start is to do what is called a Channel Swap. You can do this easily in Photoshop.
Open your image and then add a Channel Mixer Adjustment Layer, In the red channel set the reds to 0 and the blues to 100. In the blue channel set the blues to 0 and the reds to 100.
A faster method that can sometimes get you where you want is to choose Image Auto Tone from the Image menu.
For black and white, open your original and apply a Black and White adjustment layer to convert the image to grayscale. Adjust as you wish, and don’t forget that a Brightness / Contrast adjustment layer and a Curves adjustment layer can be big helps.
Wrapping Up
Infrared photography is a practice that enables a creative to do new things and to see differently. It is not a costly practice to try and can deliver images that you may not be able to do otherwise. If you are brave, or at least willing to give something new a try, this could be it.
Please become a member on Patreon to help support this channel. A big thanks to all the existing Patreon members! Send in comments or questions, I read and respond to all. If you shop with B&H Photo Video, please use the link on the main page as it pays me a small commission and does not cost you anything to do so. Thanks again and we will see each other again soon.


