

Getting the Best Sound in your Videos
/
The next step in our video for still photographers series is here and it’s all about audio. When I was first studying videography, most of my projects that helped fund the whole thing were corporate work. This was before the boom in self video and the increasing ubiquity of crappy sounding video being acceptable as more and more pieces were disposable. Still I think back to one of my first instructors, a former DP on Saturday Night Live who told us that “nothing kills good video faster than bad audio.” It was true then and is still true today.
I said at the beginning that we would leave audio for a bit because it is complex. Which it is. It’s also a place where what is in your camera is mostly useless. Professional video has two very distinct services, the camera person, focus puller and DP, and separately, the recordist, boom mike operator, and sound crew. This is why professional shoots are so costly and so very crowded. Look at the credits on a production and you will see a completely unique audio team even broken up for recording, music and re-recording. Then you will have the audio engineers who do the mixing and then the editing team who put it all together.
If you’re getting scared, don’t be, I’m just emphasizing that audio is yet another skill set to learn.
I don’t want to offend but I’m going to start off by saying that the camera’s built in microphone, or a microphone that you mount on the camera and plug into the camera are never going to give you good audio. The audio inputs on consumer cameras are afterthoughts on their best day. If you accept this, you will be sad at first and happier in the end because your complete video will stand out over others.
The Gear
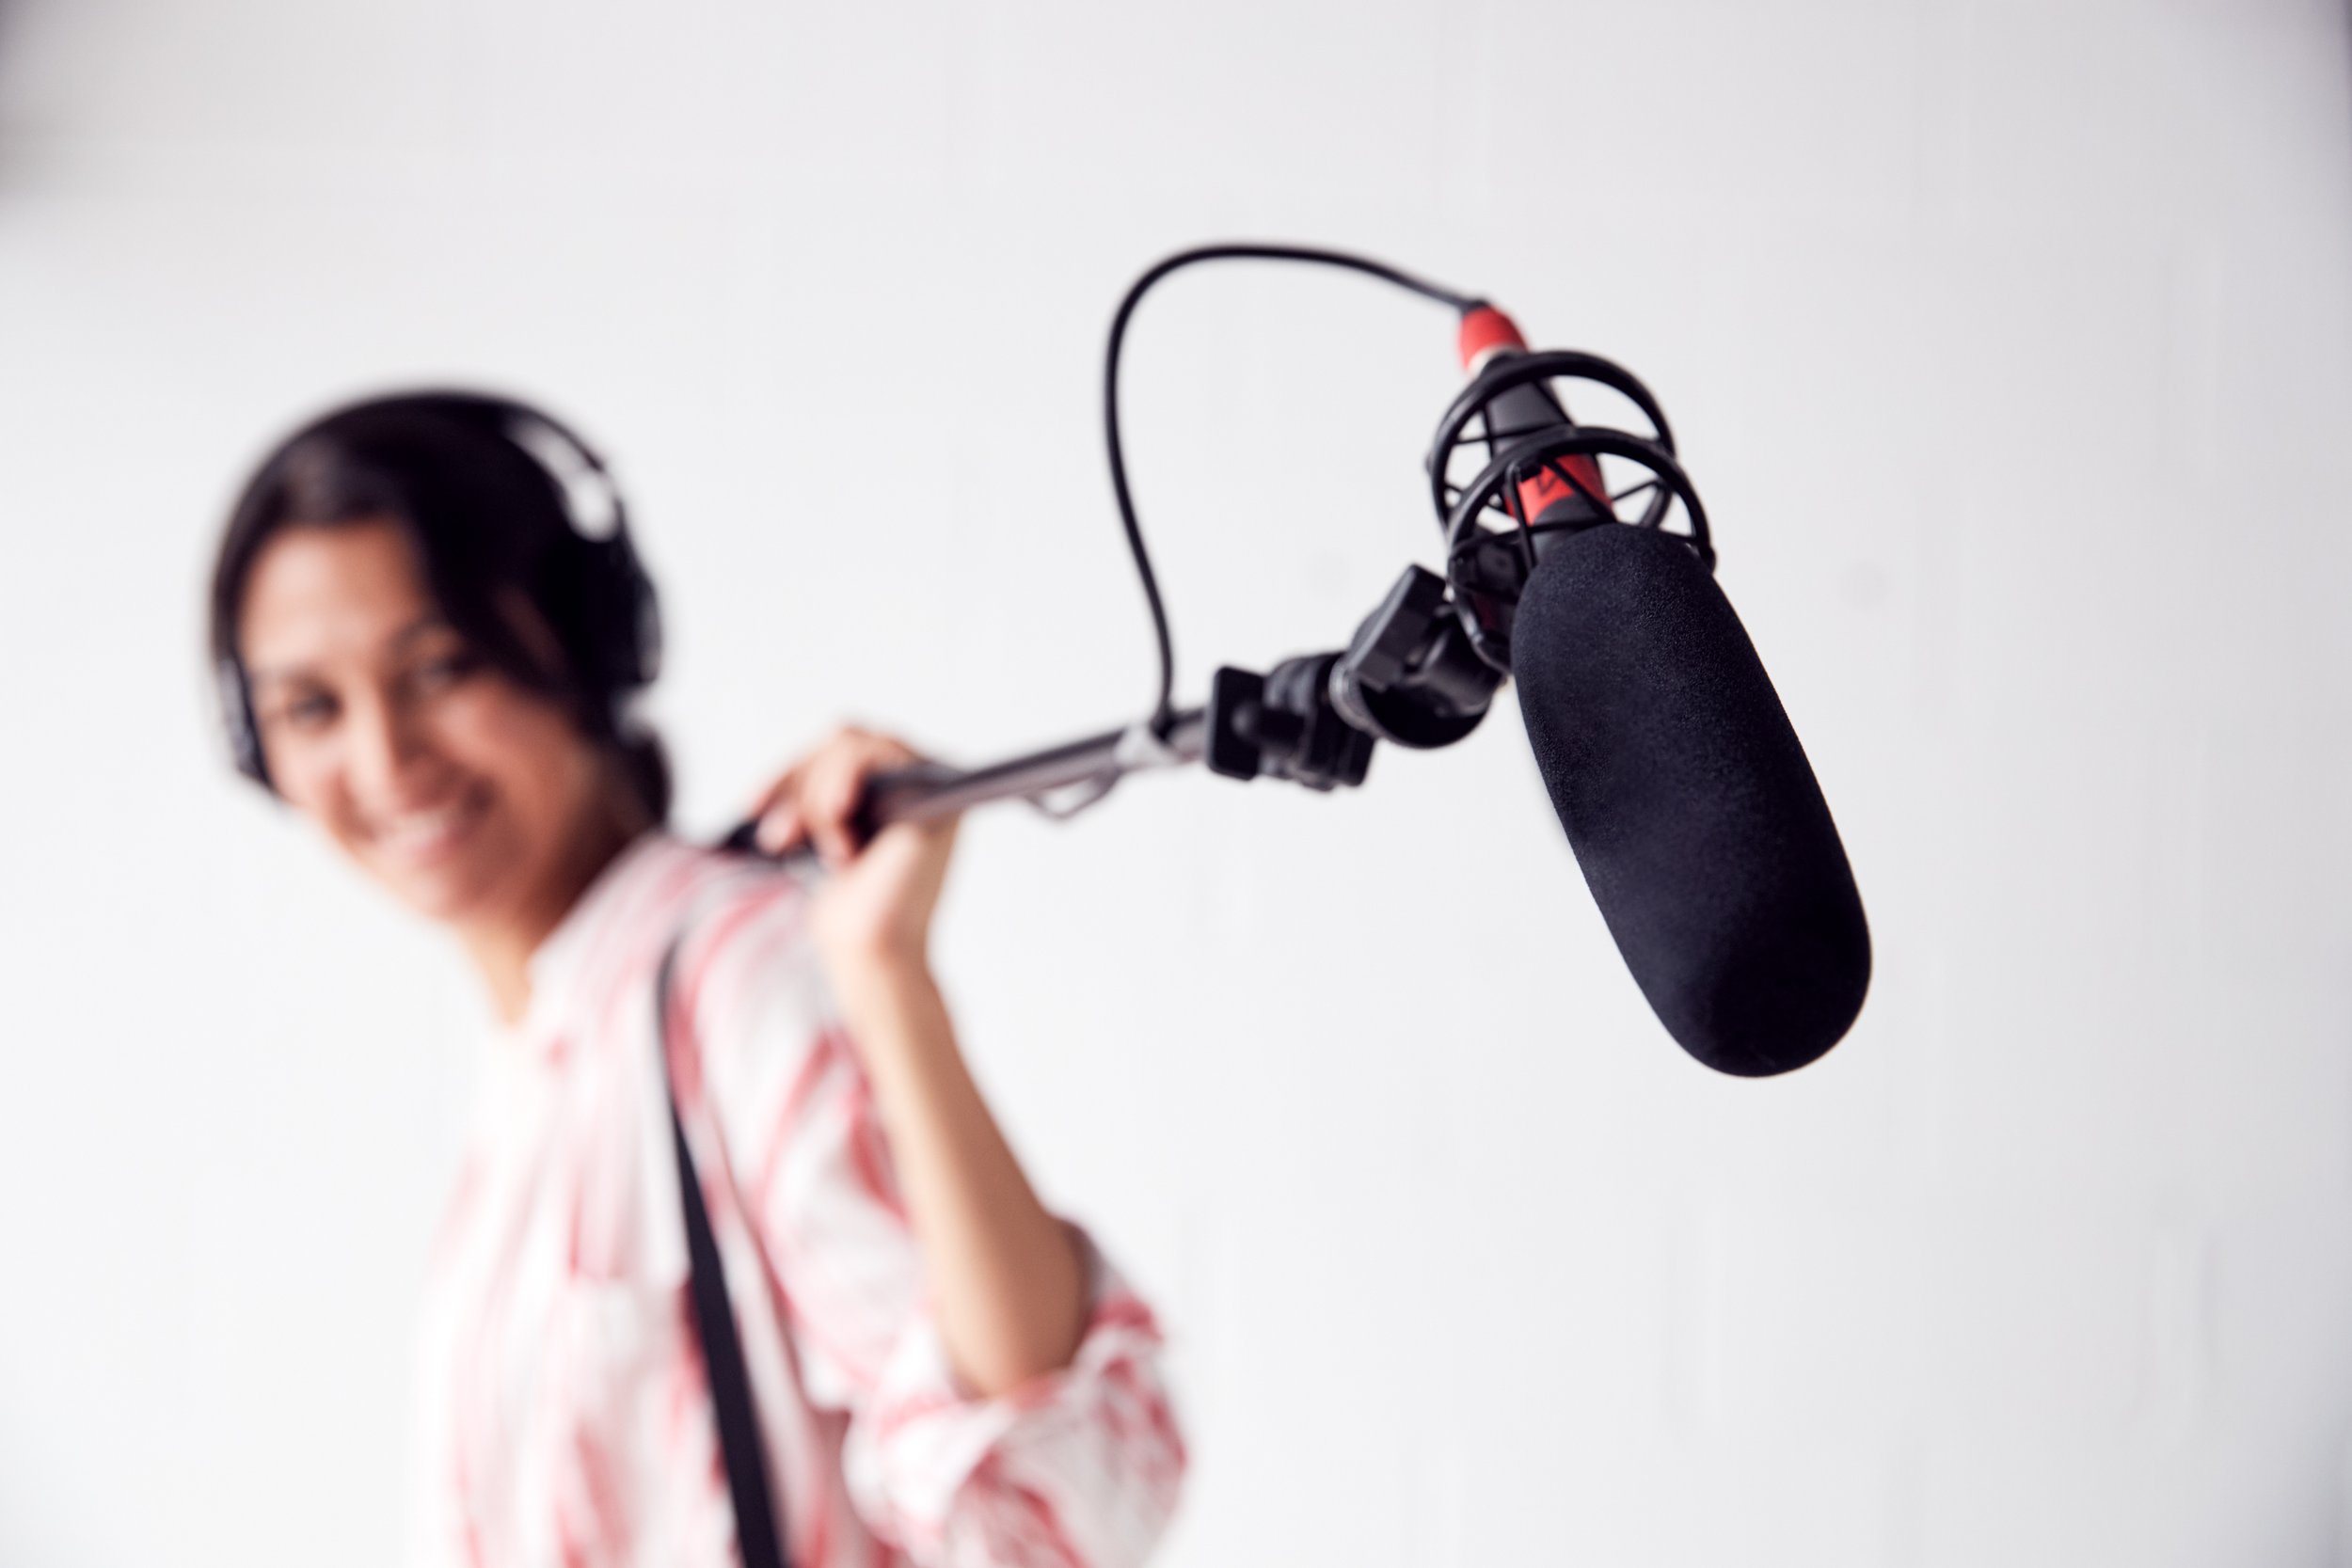
To record decent audio, you need decent gear. Fortunately, this has gotten a lot less expensive in recent years. You will need microphone(s) and a digital recorder with either on board or off board preamplifiers. Good microphones put out a very low level signal. Cheap microphones put out a high level signal that has poor frequency response, is full of noise and have very limited range and cable run length. Save your money and don’t bother.
Microphones
For person speaking video, like a web show or an interview, lavalier microphones are very portable and work well. Spend some time learning how and where to place a lavalier microphone and to hide the cable that goes to the belt pack. Belt packs may be wired or wireless. I prefer wireless myself, but you do have to be aware of potential frequency conflicts and channel crowding if others are using wireless at the same time. The benefit of wireless is that people are not tripping over cables. In my work, I use wireless Lavalier kits from Sennheiser. They sound excellent for their size and the packs are made of metal. Once you’ve worked with packs a bit, you will learn quickly that they spend a lot of time falling onto the ground as your talent fusses with their clothes or dislodges them while moving around.

Another option is a what is called a shotgun microphone. Shotguns are long narrow tubed microphones that are highly directional. The downside of a shotgun is that if your talent is moving, you need someone dedicated to moving the microphone on the end of a mike boom to keep the microphone pointed in the right place and keeping a consistent distance so levels don’t vary all over the place. This person also has to be skilled enough to keep the microphone out of the frame. We’ve all had the illusion of film destroyed by the bobbing appearance of a black tube into and out of the top of the frame. If your talent is seated and not moving around, you can mount a shotgun in a fixed place and it will work well in that regard. Don’t forget that with highly directional microphones like the professional shotgun microphones, you should plan on ordering a boom pole to use with the shotgun. I also have a clamp that allows me to use a C Stand as the holder for the boom pole for when I am the one person video and audio team.

Unless you are doing person in the street documentary style work, a handheld microphone falls under don’t bother.
Dynamic microphones do not need power to operate. They are also quite durable and can have directional sensitivity. Condenser microphones need a power source to operate. They require 48v, regularly called Phantom Power. This phantom power could be delivered by a battery in the microphone as in some RODE shotgun microphones or via the input on the recording unit.
When you get your microphones, don’t forget to buy good quality microphone cables and always look for low impedance microphones that use balanced lines. They will be able to run longer distance and be less noisy.
Recorders
There are boxes that will allow you to connect high quality microphones right to your camera. Save time and aggravation and don’t bother. An external recorder is your friend. I have had excellent success with the portable multitrack field recorders from Zoom. The H4n was a staple for years until I got an H6n giving me two more tracks. Then I moved to a Zoom F8n Field Recorder because I was not using microphones on the recorder, I was running cables to microphones from the recorder, or plugging a wireless receiver in the field recorder. While I would love a SoundDevices unit, until someone wants to pay me a ton for a project to fund one, my little Zoom will do the job. The preamps inside are good enough for most all purposes although I would not use it for high end music recording. That’s a different game, but I have recorded a lot of demos and live gigs with the Zoom for others and they are happy. Another line to consider are recorders from Tascam. I had one which got stolen and loaned another to a co-producer on a show and it never came home.

This is the Zoom H6n one of a huge family of Zoom handheld recorders. The number indicates the number of active inputs. I like this one a lot because of interchangeable microphone capsules but also own a Zoom H4n and Zoom H1n. Very hard to beat for the dollar.

My go to field recorder right now is this Zoom F8n unit. The preamps are even good enough for live music recording
These devices record to the same SD cards as most cameras, so you don’t need to look into an entirely different storage routine. You will be amazed at how much better audio recorded into an H4n with a decent microphone will be compared to anything that plugs into and records into your camera.
It’s more work, with a solid quality pay off.
Putting It Back Together In Your Video
Here’s where it gets fun. Remember that in camera microphone and recorder that I said at the beginning was really lousy? It is for high quality sound, but is marvelous to be used as a bed track. So you record the audio in your camera, and if the talent is some distance away, use a small shotgun mic designed for cameras plugged right into the audio in.

One of the best sounding on camera microphones that plugs right into your camera, the RODE VideoMic Pro
Now when you bring your video into your video editor, there will be a video track and an audio track. Then import your quality audio track. Enlarge the track height so you can see the waveforms. Now drag the quality audio track in the timeline so the peaks in the waveform are aligned with the peaks in the camera recorded audio track. There is software that can do this for you called PluralEyes that I used for a long time on long form video, but for our personal video work, the “match by eyeball” system works a charm. Some video editors even offer an audio track sync option. All you want is to have your quality audio track synced to the video track properly.
Once done, you use the lock function in your editor to lock the video and the quality audio tracks together so if you move either one, they always stick together. At this point, you can go to the camera recorded audio track and mute it. It’s still there but is not heard. Perfect!
Adding Music
Think of films that you like and you will often realize that there is music lying underneath the video when there is no dialogue. Music can be used to help set mood just like lighting. The trick here is that if you use commercial music in your video, you won’t be able to publish it, unless you buy a license for the music. That is costly and involves contracts and lawyers. A better option is to source music from a music license service designed for video creators. There are multiple companies out there. but the one that I have used and that I learned about from my peers and instructors is called Triple Scoop Music. They have a huge catalog and a great search tool so you can find just the right piece to use. And once you have licensed music, you can use it as much as you wish in your published videos. YouTube and Vimeo as examples have to ensure that they do not get caught up in a copyright infringement battle and will take down videos that they detect to be using unlicensed music.
Summary
We’re getting close to the finished goods. At this point you know how to use your camera to make good looking videos, you know what kind of lights work best to illuminate your story and you know how to record pro grade audio. The last step is pulling it together in your editor and publishing it and that will be the next article in this series on making great videos with the camera you know.
Do you have an idea for an article, tutorial, video or podcast? Do you have an imaging question unrelated to this article? Send me an email directly at ross@thephotovideoguy.ca or post in the comments. When you email your questions on any imaging topic, I will try to respond within a day.
If you shop with B&H Photo Video, please consider doing so through the link on thephotovideoguy.ca as this helps support my efforts and has no negative impact whatsoever on your shopping experience.
If you find the podcast, videos or articles of value, consider clicking the Donation tab in the sidebar of the website and buy me a coffee. Your donation goes to help me keep things going.
Click this link to submit your questions
I'm Ross Chevalier, thanks for reading, watching and listening and until next time, peace.


